How To Fix A Puncture
A skill that everyone should have
A vital skill for both road and MTB cyclists, fixing a puncture is both easy and is something that will come in handy to keep you riding.
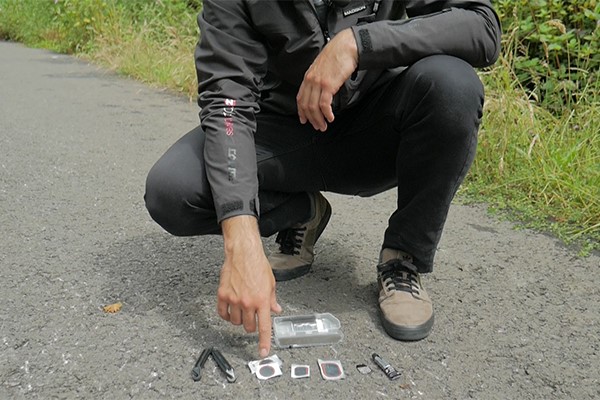
What do you need?
Puncture repair kits usually have everything you'll need to repair a hole. A kit will typically contain:
- Patches
- Tyre levers
- Glue
- Sandpaper (or a grater)
- A piece of chalk
Tube repair kits vary though, with some not including tyre levers or chalk. You will also need a way to inflate your tyres, so either a pump or air cartridge.
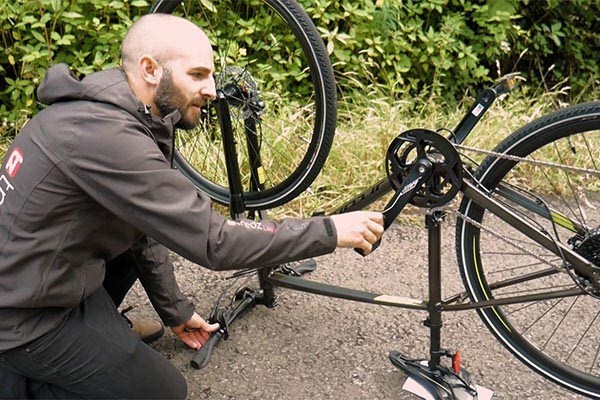
1Get
your bike in position
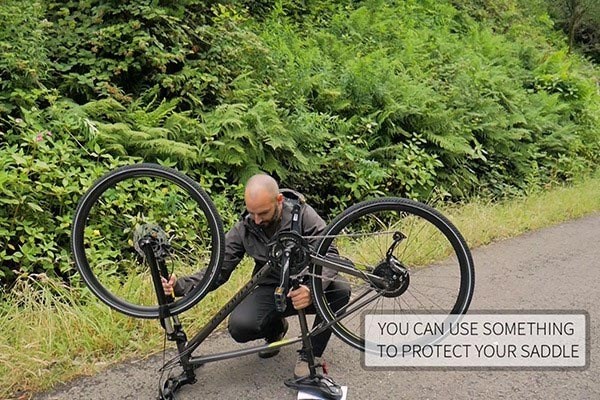
Ideally you would have a bike stand and have clamp your bike into it. If not, then the next best option is to flip the bike upside down. This will no doubt be your method for trail or roadside repairs. It’s worth finding something soft to put underneath your handlebars and saddle to avoid cosmetic damage.
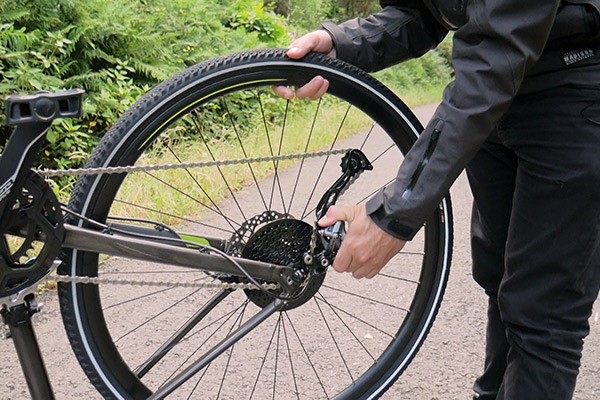
2Remove
the wheel
For bikes with V-brakes and calliper brakes, you’ll need to disconnect the brake in order to remove the wheel. Calliper (or road brakes) have a small lever that you need to release. V-brakes have a cradle that holds the noodle of the cable. Squeeze the brakes and remove the noodle from the cable. Disc brake bike won’t need to have anything done to the brakes.
For quick release (QR) dropouts, open the lever and loosen the skewer until you can easily take the wheel out of the bike.
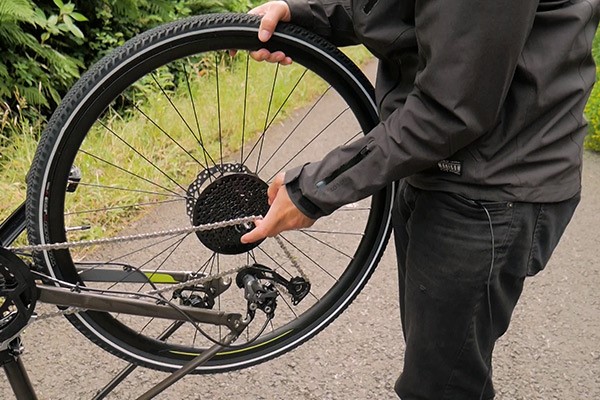
For the rear, shift the gears into the highest (most difficult) gear so there’s lots of slack in the chain. Loosen the skewer. Next, gently push the derailleur backwards, making room for the wheel to come out. While holding the derailleur, pull the wheel out the dropouts and from between the chain. Gently replace the derailleur to its resting position.
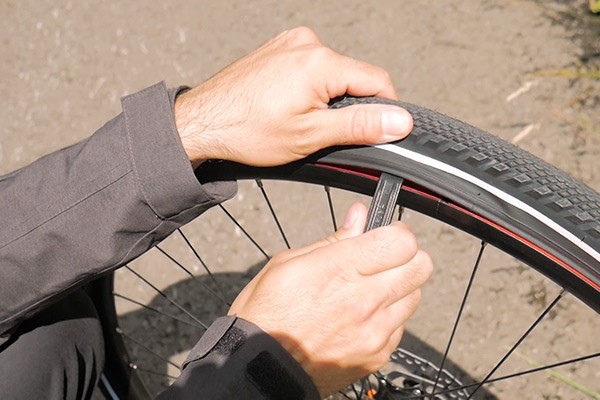
3Remove
one side of the tyre
You won’t need to remove the whole tire to fix the tube, just one side. Take the tyre lever and start at the opposite side to where the valve is. Fit the lever between the tyre and the rim, being careful to avoid the tube. The lever will catch onto the bead of the tyre, a railing that fits snug into the rim. Your next lever should be placed about 10cm away. Push against the lever of one, then the other, and a section of the tyre should pop out exposing the bead. Keep the one lever in place and slowly leverage more of the tyre out from the rim. Soon, you should be able to take it out by hand.
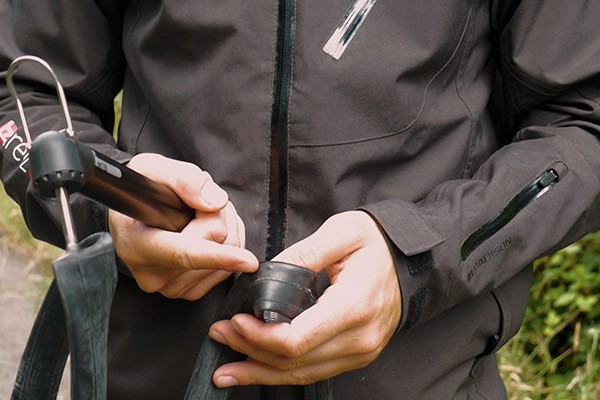
4Remove
tube
If you tube has a locking ring and dust cap, remove these first. Next take out the tube until you get to the valve. Lift the tyre out the way so you can take the valve out easily.
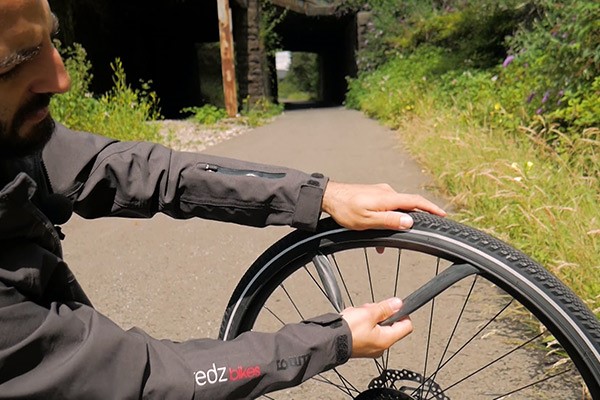
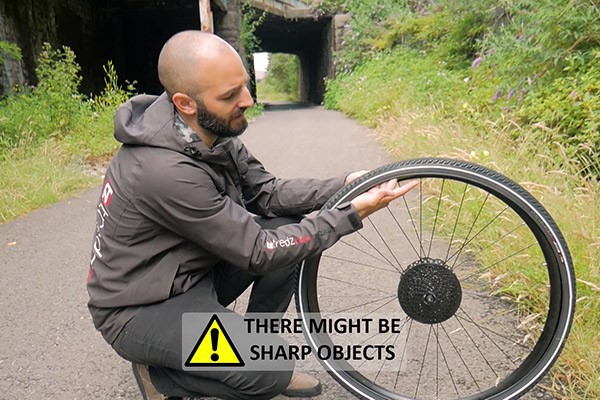
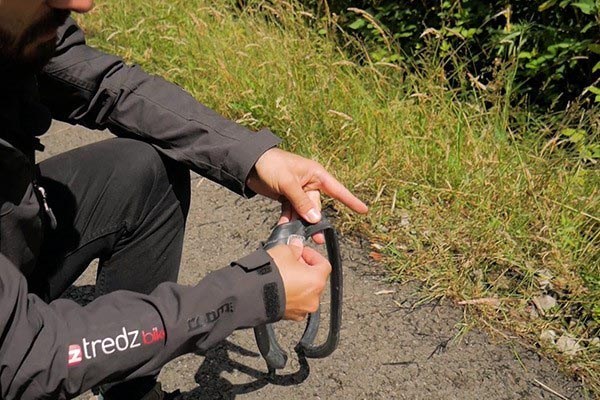
5Check
tyre & rim tape
It’s important to make sure that whatever caused your puncture is removed from your tyre. Check the insides of your tyre for anything sharp, but be careful in case there’s something dangerous like glass. Also worth looking at is your rim tape, making sure it fully covers the spoke holes in your rim.
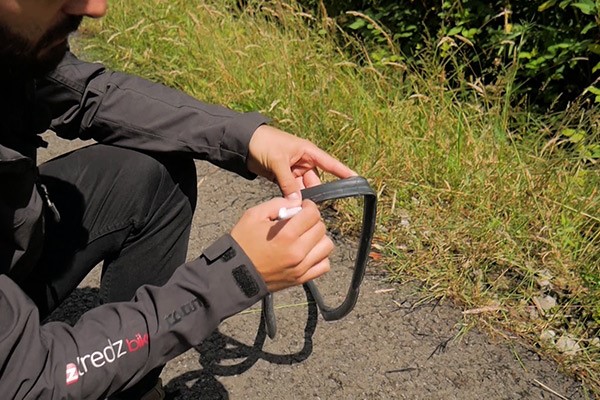
6Locate
hole(s)
Pump up the tube so it’s well inflated. Hold the tube near your ear or lips and try and locate the puncture. If you are struggling to find it, using water will help, as the puncture will produce bubbles. A bucket or sink works best, but pouring water onto the tube can be a substitute.
7New
tube or repair?
There are a couple different kinds of punctures that you can get. A small hole is simple to repair, however punctures caused by a pinch can caused multiple holes from the tube being pinched between a hard object and your rim. For these, we suggest using a large patch to cover both holes. If you are struggling to get a seal because of the multiple punctures, then a new tube should be installed.
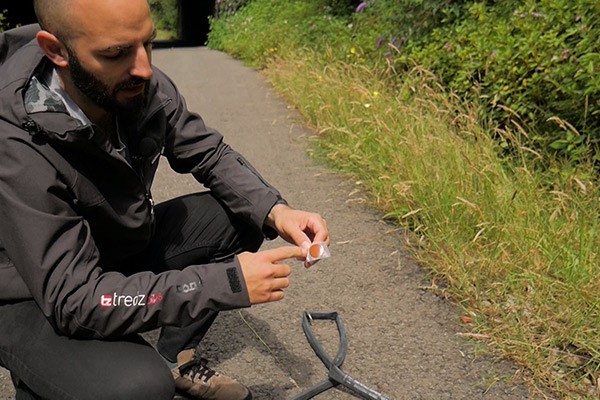
8Highlight
puncture hole
Once you’ve found the hole, use the chalk or marker to make a distinct and visible mark around the hole. This will make it easier to locate in the next few steps.
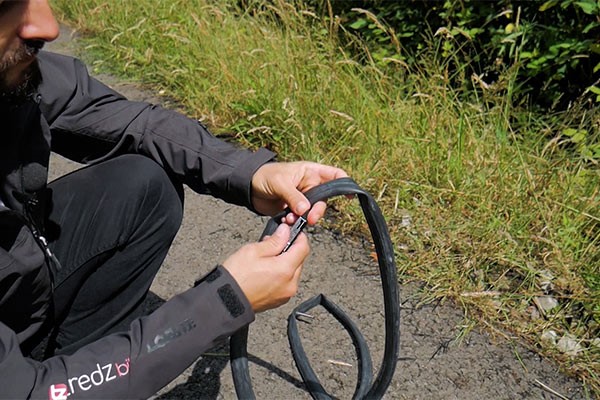
9Roughen
puncture area
Use the sandpaper or grater to thoroughly roughen the space around the hole. Make sure that you roughen a space that is at least as large as the patch you’re going to use.
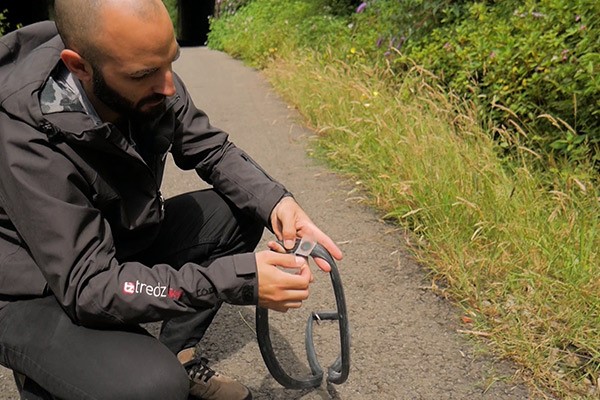
10Glue
& wait
Now it’s time to get the glue out. Use a sparing amount, just enough to cover the area that you’ve made rough in a thin layer. Once the glue is on, you need to wait 5-10min for the glue to settle, becoming tacky.
11Patch
& hold
Remove the foil (or backing) from the patch. Position it so that the centre of the patch is over the hole. If you’re using a large patch for multiple punctures, then cover the holes with as much of the patch as possible. Make sure there’s glue wherever the patch is going. Press hard down on the patch, making sure all the edges are stuck down. Carefully remove the plastic covering, making sure that the edges remain stuck down. Hold it in place for about a minute to attain a secure seal.
12Chalk
dust
If you have chalk with your puncture repair kit, then rub it against a hard surface to create some dust. Spread the chalk over the patch and surrounding area where glue was applied. The chalk prevents the patch from sticking to the inside of the tyre, allowing it to slide around.
13Inflate & refit tube
Inflate the tube to check if the seal was a success. If you have a bucket, sink or other water source, then check with this to be sure. Deflate the tube when you are happy you have sealed the hole, leaving a little air in the tube for installation.
Now, place the valve into the valve hole in the rim. Then place the rest of the tube within the open side of the tyre, making sure not to twist it.
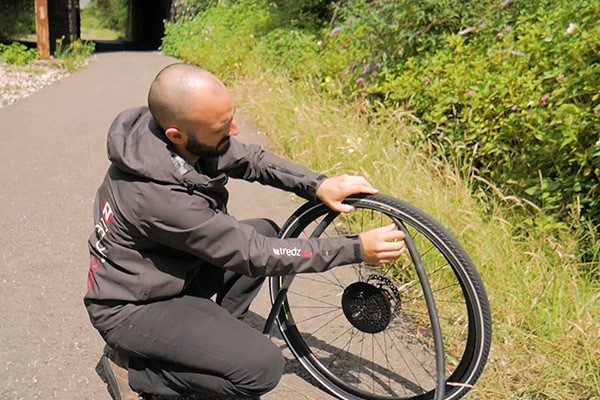
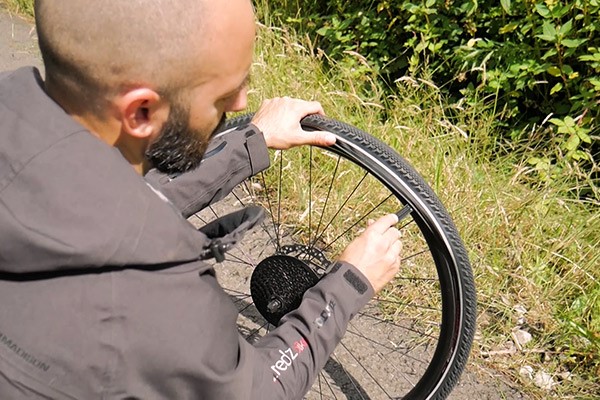
14Reinstall tyre & inflate
Starting at the valve, fit the tyre back onto the rim, making sure the bead is fully hooked into the rim by pushing gently down on the top of the tyre. Go around the tyre fitting the bead into the rim, and use the levers at the end if necessary. Be careful to avoid the tube, as pinching it between the lever and the rim could cause another puncture.
Now inflate the tyre to the desired pressure. Find out how to get the right tyre pressure here.
15Reinstall
wheel onto bike
REAR – Place the drive-side part of the wheel between the chain. Hold the derailleur out the way as you place the wheel into the dropouts. Gently replace the derailleur to its resting position. Tighten quick release skewer.
FRONT – Place the wheel back into the dropouts. Make sure that the direction of your tyres is correct. There should be an indicator on the sides of the tyres showing this.
Disc brakes – It’s important to fit the rotors of your disc brakes into the calliper gently when reinstalling the wheel.
16Check
Spin the tyre and check that it’s rolling straight and centred. If there are any lumps or bumps then the tyre is not seated properly. Deflate the tyre and roll it lightly to try and get it settled. Inflate and check again. Once it’s running central, go and ride!